Installation Guide
This guide will help you set up the toolkit on your computer, even if you’re new to programming or AI.
1. Install Anaconda
First, install Anaconda, a Python data science platform that includes necessary tools and package management.
Download Anaconda
- Visit Anaconda’s website
- Download the installer for your operating system: - Windows: Download the .exe installer (Select “64-Bit Graphical Installer”) - macOS: Download the .pkg installer (Select “64-Bit Graphical Installer”) - Linux: Download the .sh installer
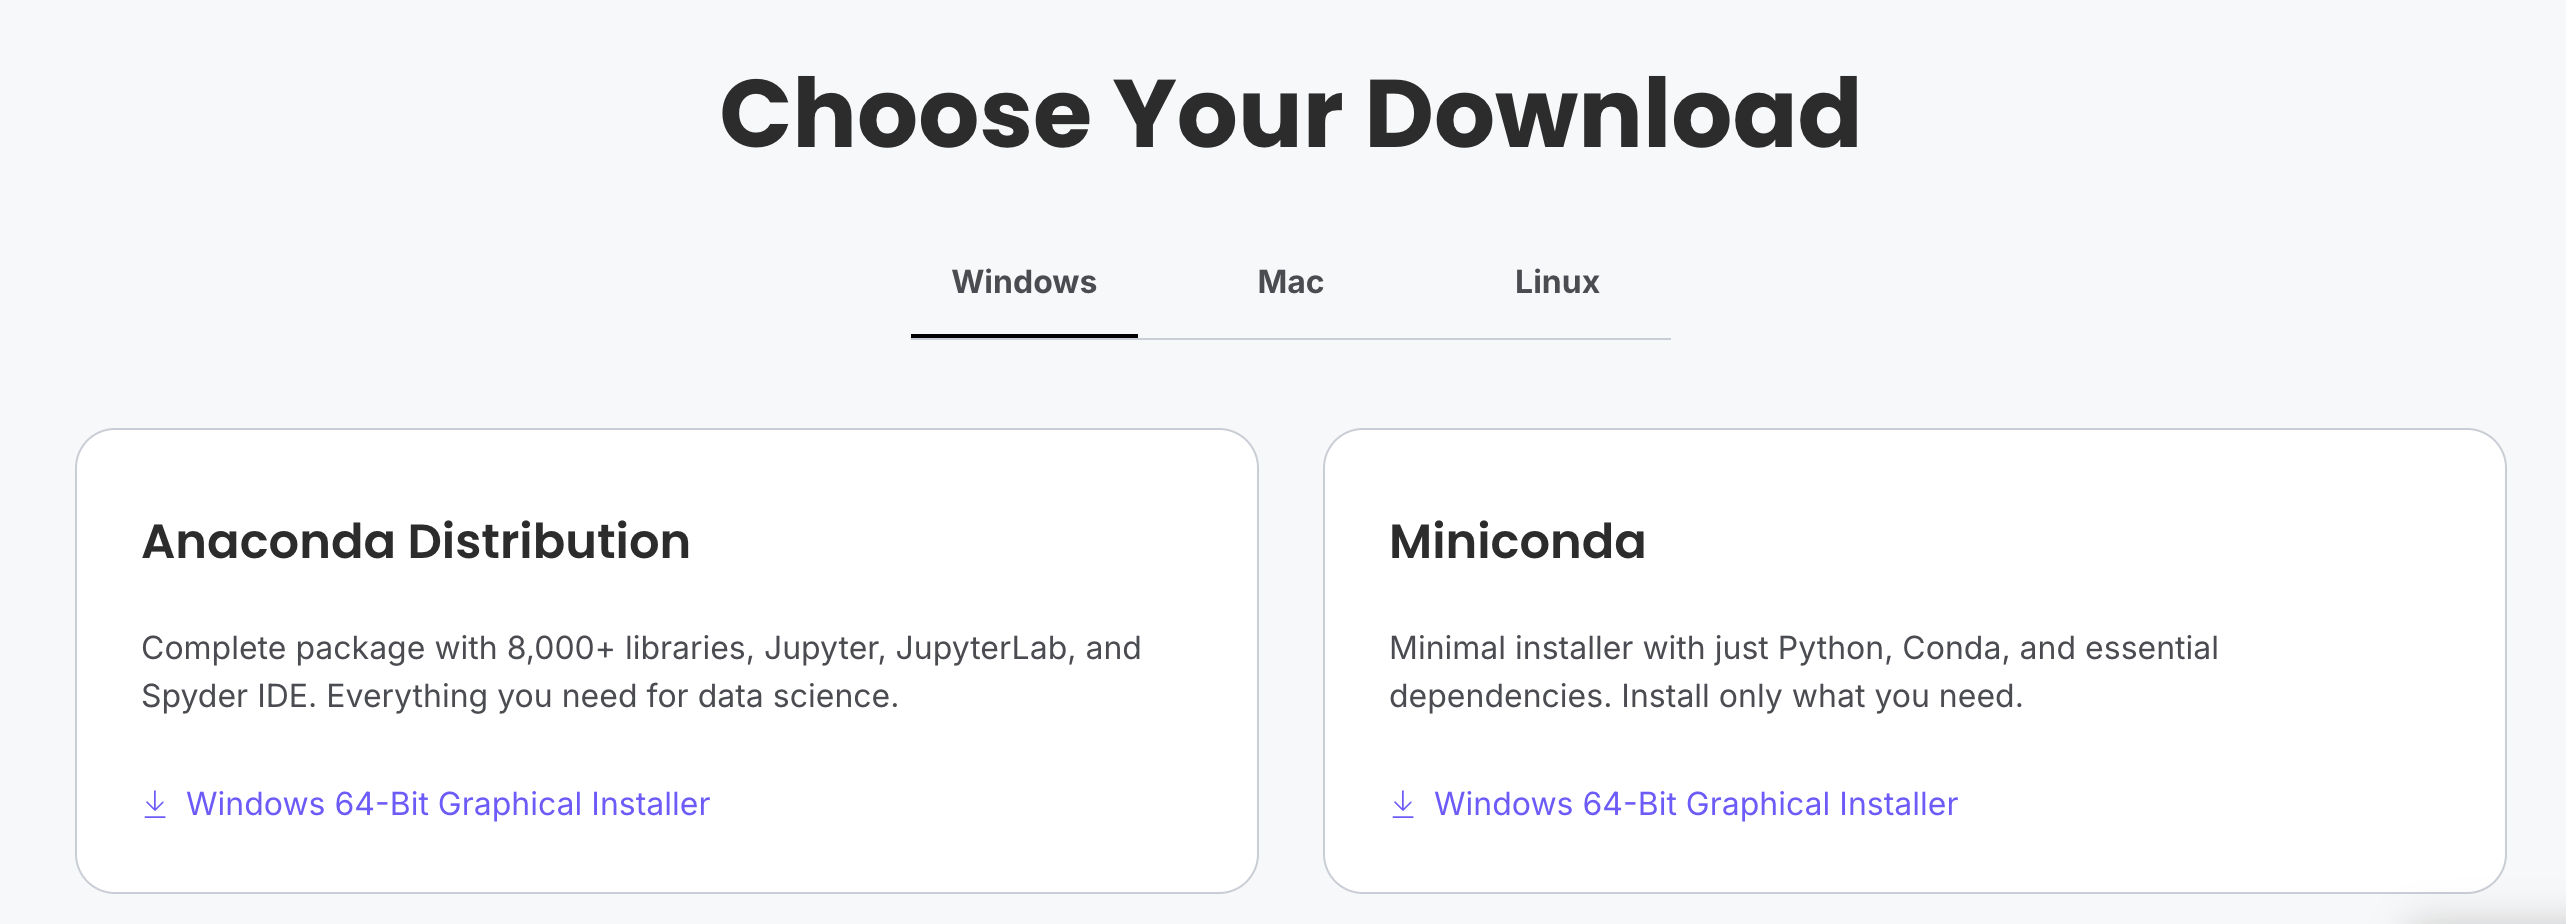
Choose the Anaconda installation package according to your system
Run the Installer
- Windows: Double-click the .exe file and follow the prompts. Important: Select “Add Anaconda to my PATH environment variable” during installation.
- macOS: Double-click the .pkg file and follow the installation wizard.
- Linux: Open a terminal, navigate to the download location, and run:
bash
  bash Anaconda3-xxxx.xx-Linux-x86_64.sh # replace xxxx.xx with the version you downloaded
Verify Installation
1. Open Terminal:
- On Windows: Press
Win + S, typeAnaconda Prompt, and select “Anaconda Prompt (anaconda3)”. - On macOS: Press
Command + Space, typeTerminal, and press Enter. - On Linux: Open your terminal application.
2. Copy and paste the following command into the terminal, then press Enter:
conda --version
You should see the conda version number displayed, confirming installation.

Anaconda installation confirmation.
2. Download the Project and Create Environment
Clone the project repository or download it as a ZIP file, then create the conda environment:
Option 1: Using Git (Recommended)
# Navigate to your desired directory
cd ~/Desktop  # Or any directory where you want to store the project

# Clone repository (you need Git installed)
git clone https://github.com/ccai9012/ccai9012.git
cd ccai9012

# Create environment from environment.yml
conda env create -f environment.yml
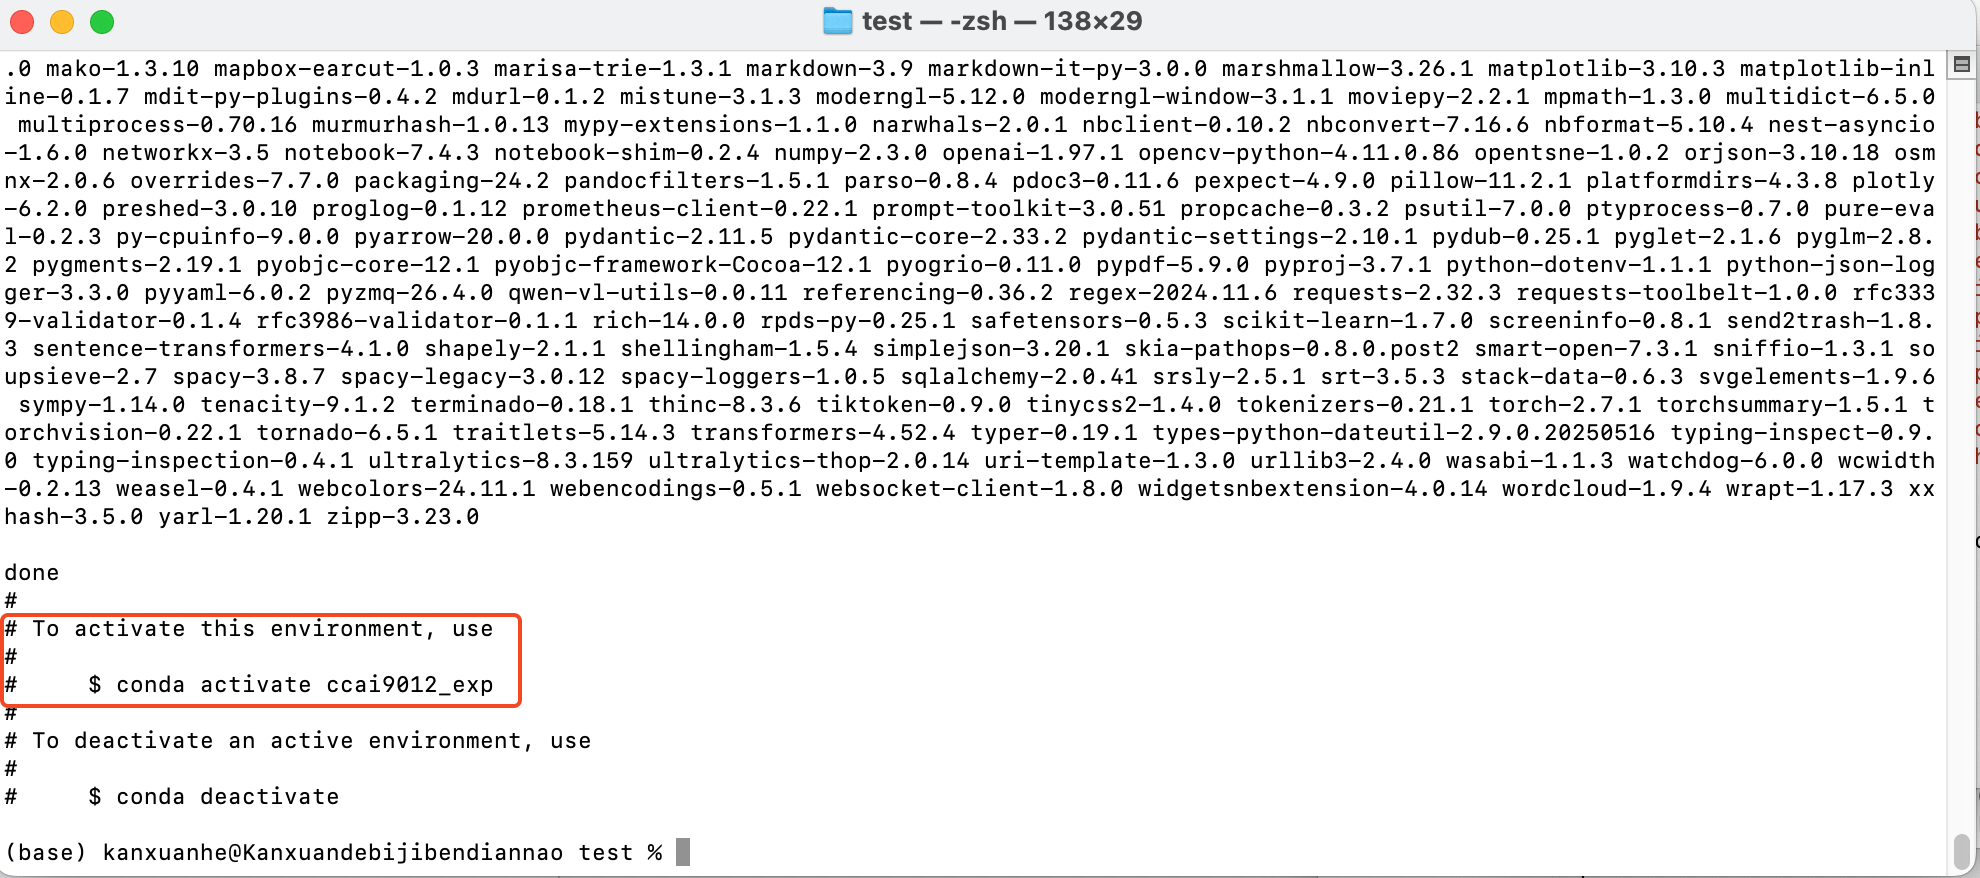
After install the environment. If you use the default configuration, the name will display as "ccai9012".
Option 2: Download ZIP
If you don’t have Git installed:
- Visit the GitHub repository page
- Click the green “Code” button and select “Download ZIP”
- Extract the ZIP file to your desired location
- Open terminal and navigate to the extracted folder:
cd path/to/extracted/ccai9012 # use your own path, for example: cd ~/Desktop/ccai9012
# Create environment from environment.yml
conda env create -f environment.yml
This command will:
- Create a new conda environment named
ccai9012 - Install Python and all required packages
- Set up all dependencies for the course materials
Activate the Environment
conda activate ccai9012 # ensuring you're in the project directory
Your command prompt should now show (ccai9012) at the beginning of the line, indicating the environment is active.
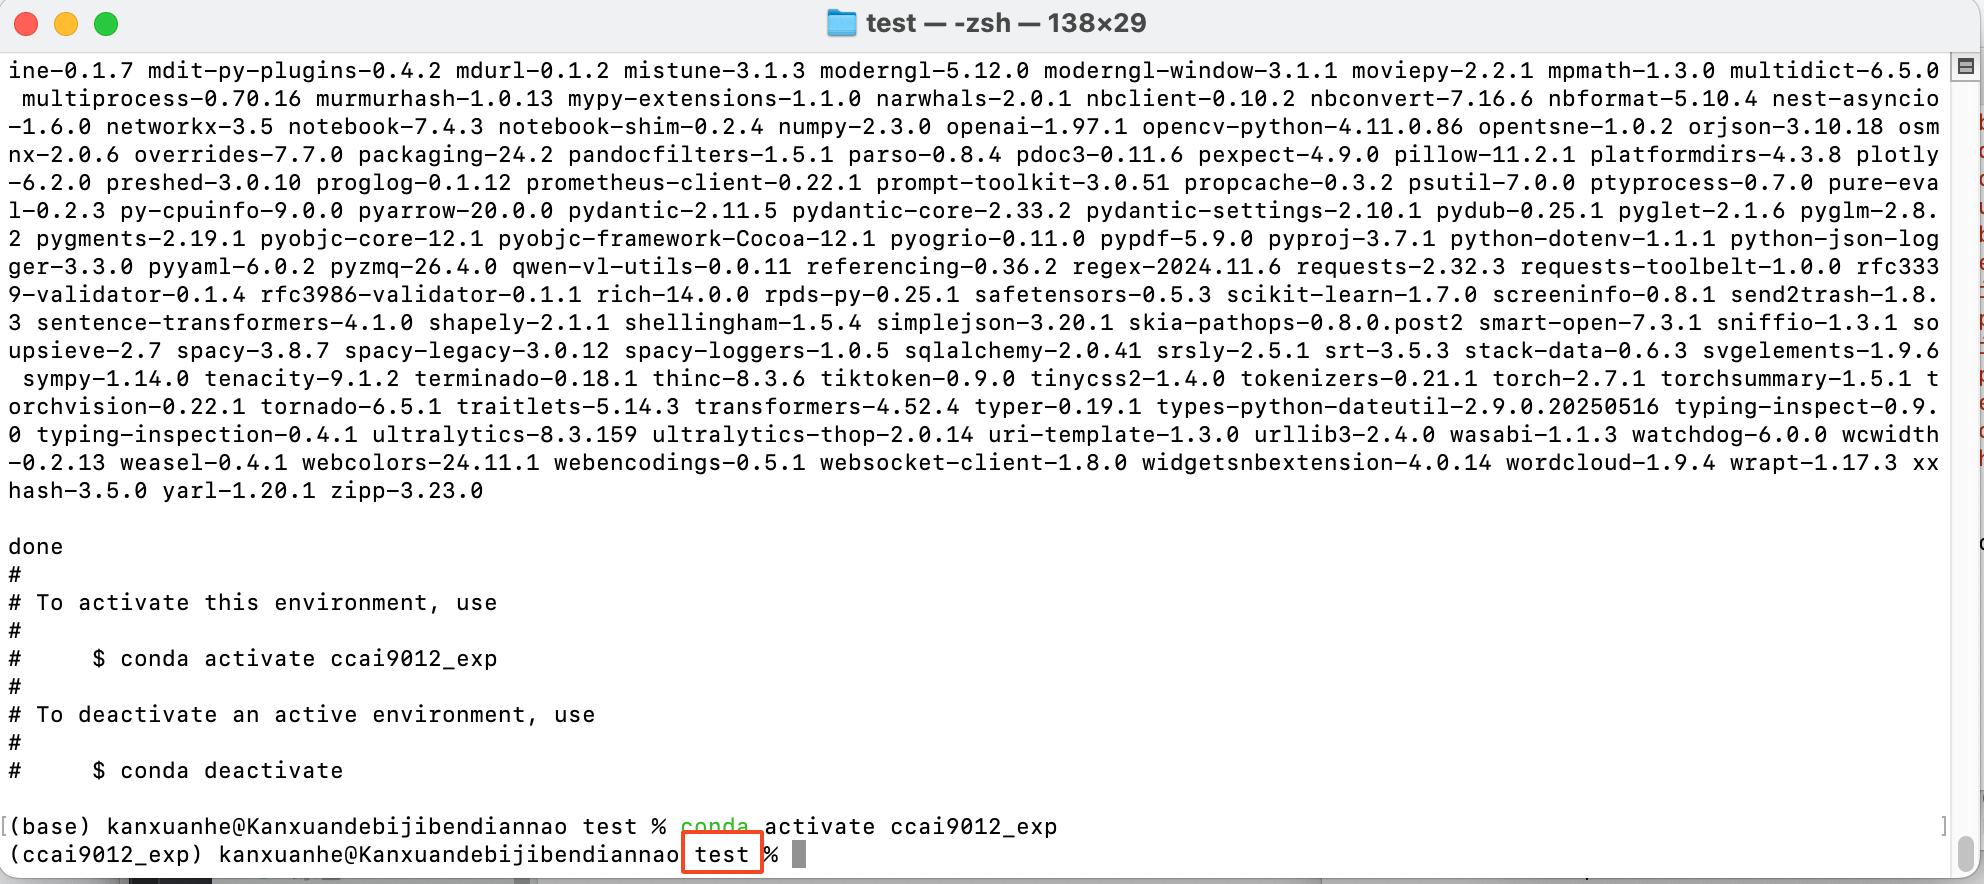
Make sure you are in the project directory (displayed in the red box).
Install the ccai9012 Package
Install the ccai9012 package in development mode:
# Make sure you're in the project directory and environment is activated
pip install -e .
This installs the ccai9012 utilities as a package, allowing you to import ccai9012 from anywhere.
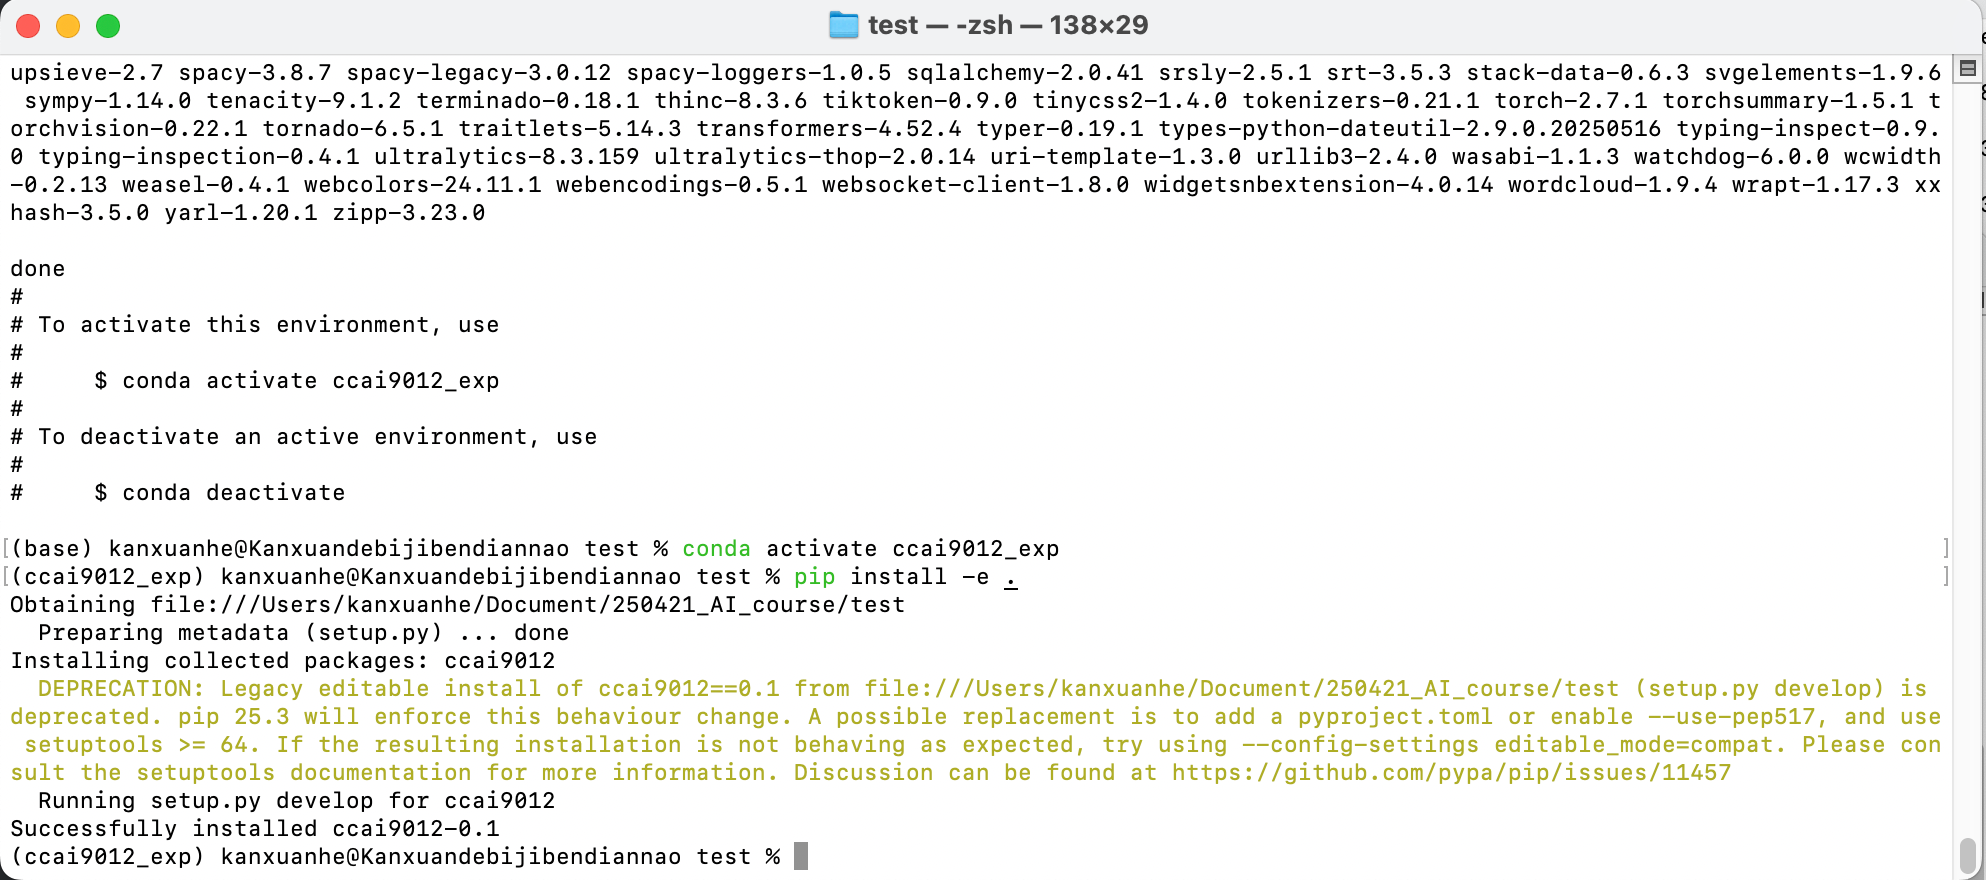
After installing package.
3. Test Your Environment
After installation, it’s important to verify that all required packages are properly installed. Run the provided test script:
# Make sure the ccai9012 environment is activated
conda activate ccai9012

# Run the test script
python test_environment.py
Understanding Test Results
The test script will check multiple categories of packages:
- Core Scientific Packages: numpy, pandas, matplotlib, scipy, scikit-learn
- Deep Learning Frameworks: PyTorch, torchvision, transformers, diffusers, accelerate
- LLM Packages: langchain, openai, tiktoken, and related tools
- Computer Vision Tools: OpenCV, YOLO (ultralytics), and related packages
- Visualization Libraries: plotly, seaborn, and plotting tools
- Custom Utilities: ccai9012 package modules
Output Symbols: - ✓ (checkmark) = Package imported successfully - ⚠ (warning) = Package works but may have version compatibility warnings - ✗ (cross) = Package failed to import (needs troubleshooting)
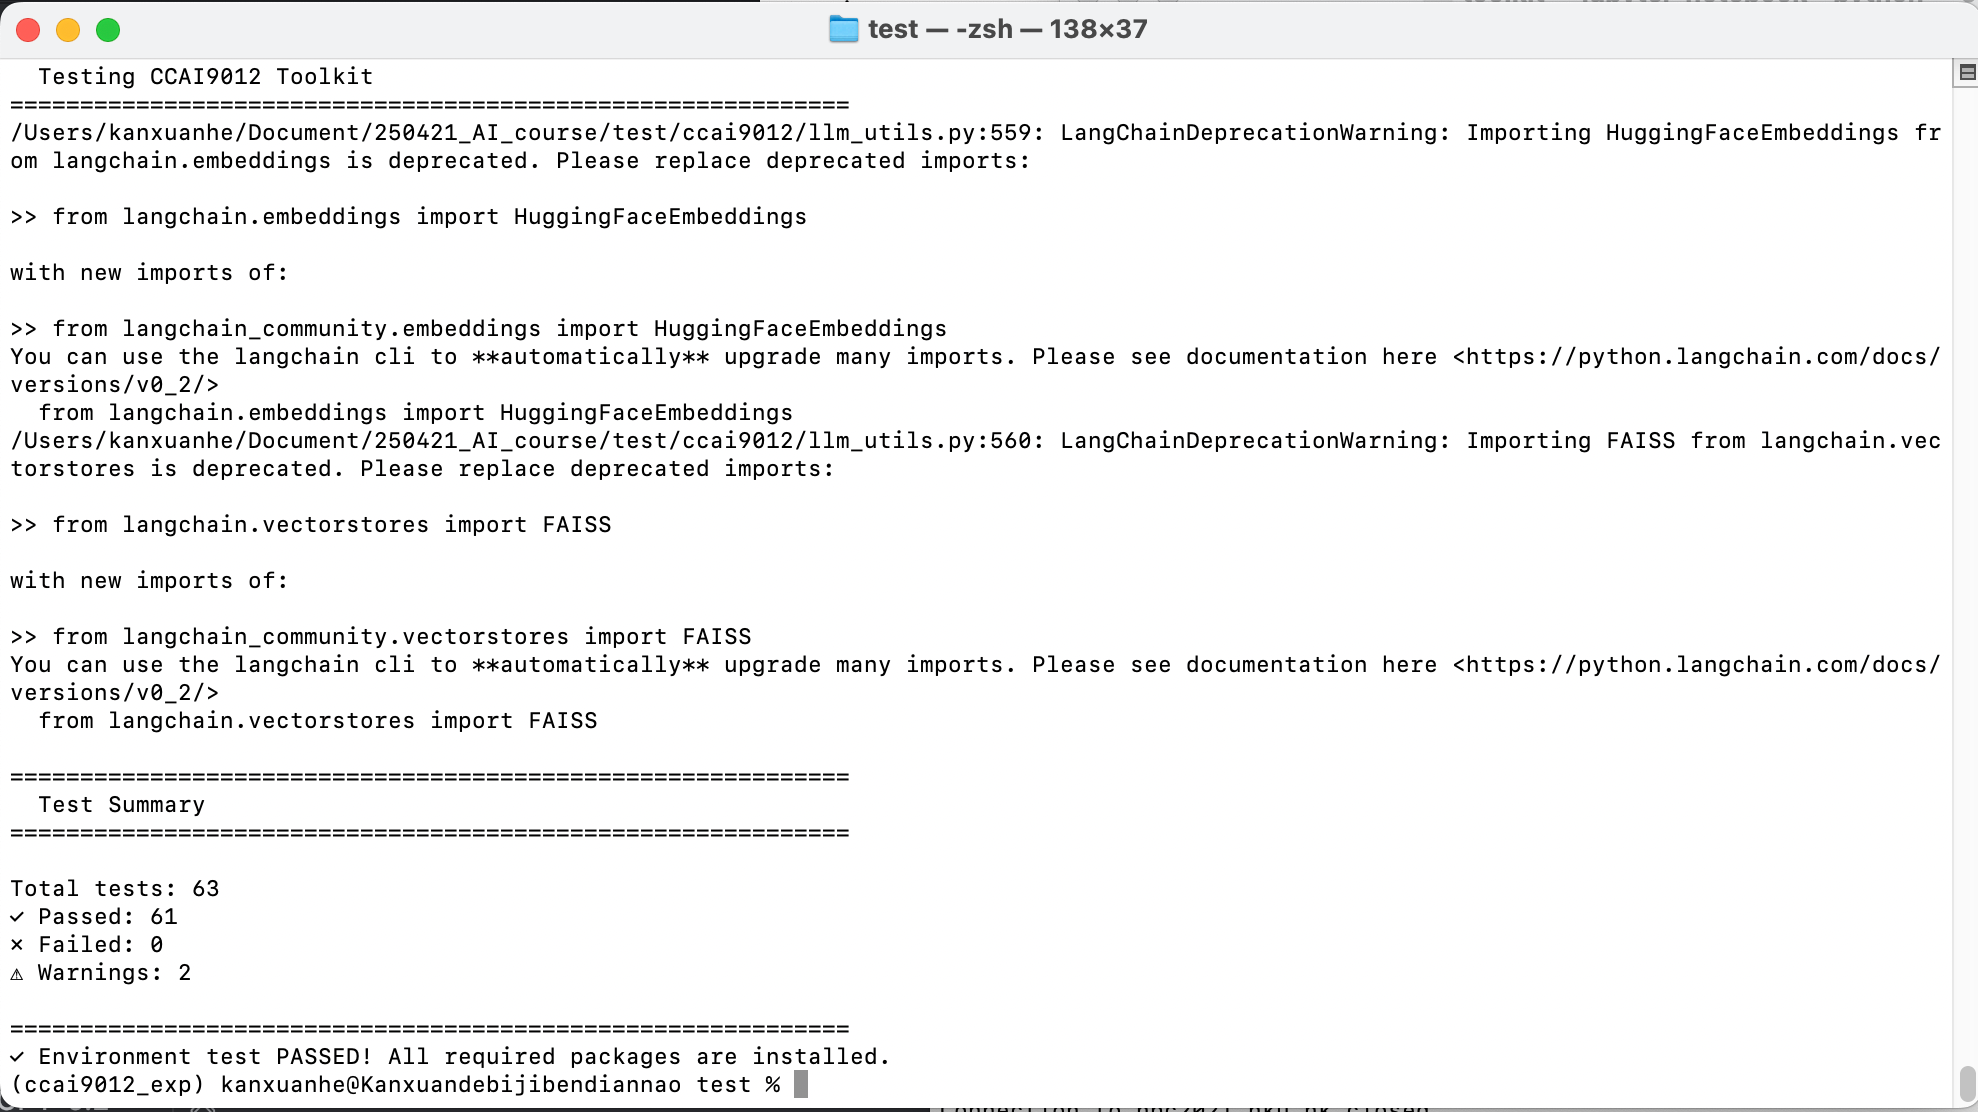
Package imported successfully.
Verbose Testing
For detailed information about each test:
python test_environment.py --verbose
This will show each package being tested in real-time and provide more detailed error messages if any issues occur.
What to Do If Tests Fail
If you see ✗ marks for any packages:
- Check the error message - It usually indicates what’s missing
- Reinstall the environment:
bash conda deactivate conda env remove -n ccai9012 conda env create -f environment.yml conda activate ccai9012 pip install -e . - Install missing packages individually:
bash pip install package-name - Check the Common Issues section below for platform-specific problems
4. Set Up Jupyter Notebook Kernel
To use the course materials in Jupyter notebooks, you need to add the conda environment as a Jupyter kernel:
# Make sure the ccai9012 environment is activated
conda activate ccai9012

# Install the environment as a Jupyter kernel
python -m ipykernel install --user --name ccai9012 --display-name "ccai9012"
5. Launch Jupyter Notebook
Now you can start Jupyter Notebook and access all course materials:
# Make sure you're in the project directory and environment is activated
conda activate ccai9012 # activate the environment if not already done
cd path/to/ccai9012  # Navigate to the project directory if not already there

# Launch Jupyter Notebook
jupyter notebook
Important Jupyter Setup Steps
- Jupyter will open in your web browser (usually at http://localhost:8888)
- Select the correct kernel: When you open any notebook (.ipynb file): - Click on “Kernel” in the menu bar - Select “Change kernel” - Choose “ccai9012” from the dropdown - This ensures the notebook uses the correct environment with all installed packages
- Navigate to course materials:
-
weekly_scripts/- for weekly course materials -starter_kits/- for project starter kits -docs/ccai9012/- for documentation (open index.html in browser)
Common Issues
CUDA Setup
If you have an NVIDIA GPU, it’s recommended to set up CUDA for GPU acceleration:
1. Check CUDA compatibility:
nvidia-smi
This will display your GPU and driver information.
2. Install matching CUDA version:
conda install pytorch torchvision torchaudio pytorch-cuda=11.8 -c pytorch -c nvidia
Common Error Messages
- ModuleNotFoundError: If you see “No module named ‘xyz’“, run:
pip install xyz - DLL Load Failed: On Windows, reinstall PyTorch with the correct CUDA version
- Out of Memory: Reduce batch sizes in your code or use CPU mode
Support & Feedback
For questions or suggestions:
- Submit an issue on our GitHub repository
- Email [course_email]
- Post in the course forum